I finally got to move from windowed SwiftUI apps for visionOS to try working with RealityKit. This post documents my journey of learning the basics of Model3D and how to use it.
Finding the Model
Initially excited to create a 3D Pokédex proof of concept, I hit a roadblock when I could not find a Pikachu model that fit my needs after checking out sites like Sketchfab and TurboSquid. I did not want to spend too much time on this, so I decided to put the idea on hold for now.
I stumbled upon Apple's AR Quick Look Gallery, an amazing place for a selection of 3D models available for free. I ended up downloading a Fender Stratocaster USDZ file!
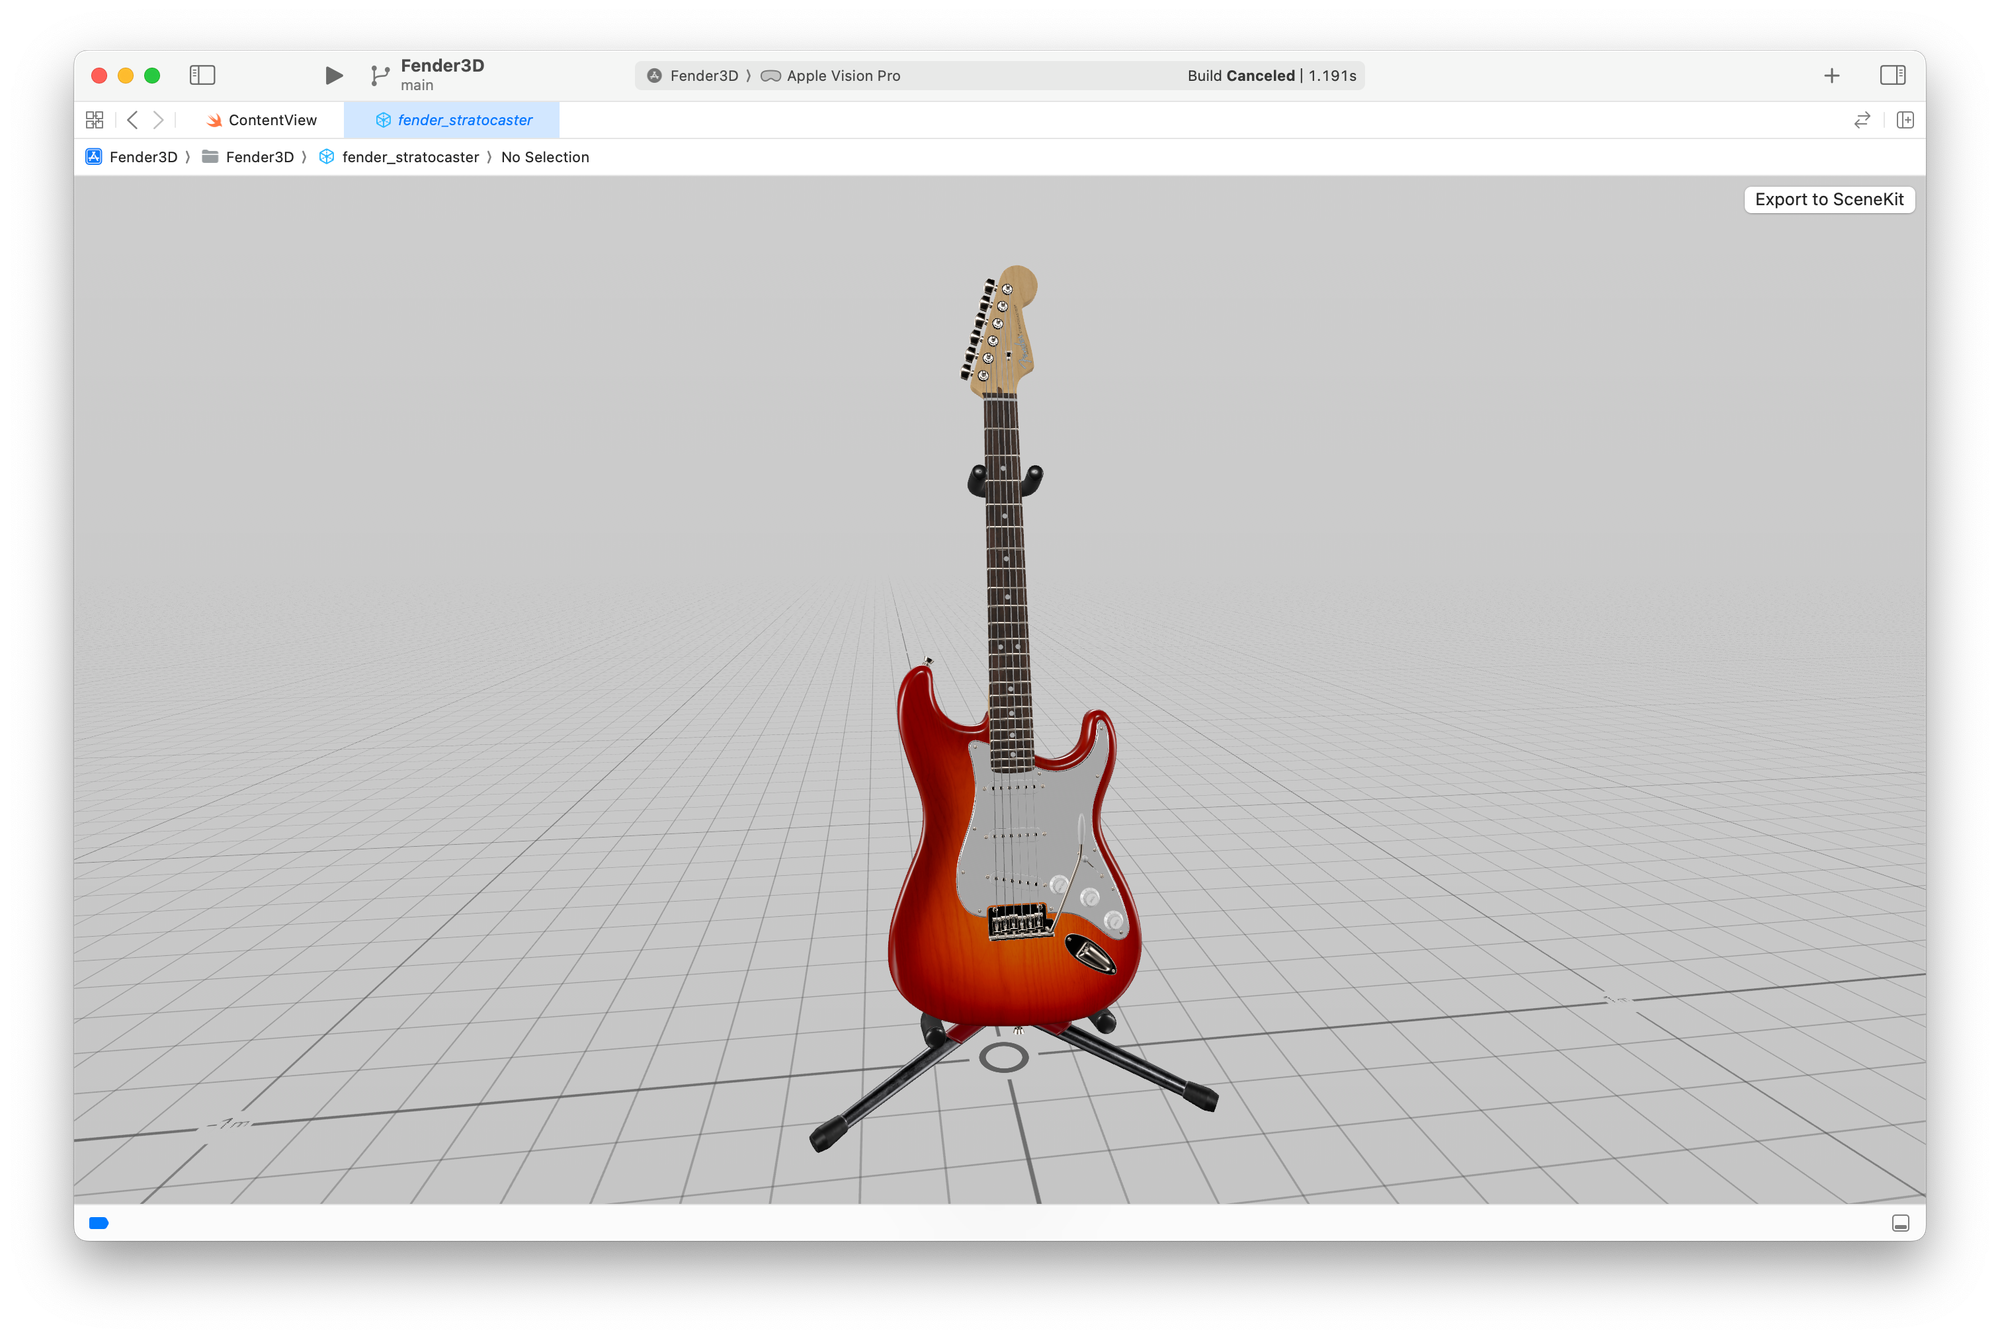
I added the file to the project's root and am ready to add the 3D content to my 2D window!
Understanding Model3D
The Model3D struct is a custom SwiftUI view that allows you to display 3D models in your app. Several initialisers allow you to load and display models from a URL, a Bundle, or by name.
@available(visionOS 1.0, *)
@available(iOS, unavailable)
@available(macOS, unavailable)
struct Model3D<Content> : View where Content : View {}
As I have already downloaded the model, I use the method to reference the model by name.
init<Model, Placeholder>(named name: String, bundle: Bundle? = nil, @ViewBuilder content: @escaping (ResolvedModel3D) -> Model, @ViewBuilder placeholder: @escaping () -> Placeholder) where Content == Model3DPlaceholderContent<Model, Placeholder>, Model : View, Placeholder : ViewThe name parameter is a string that specifies the name of the USD or Reality file to display.
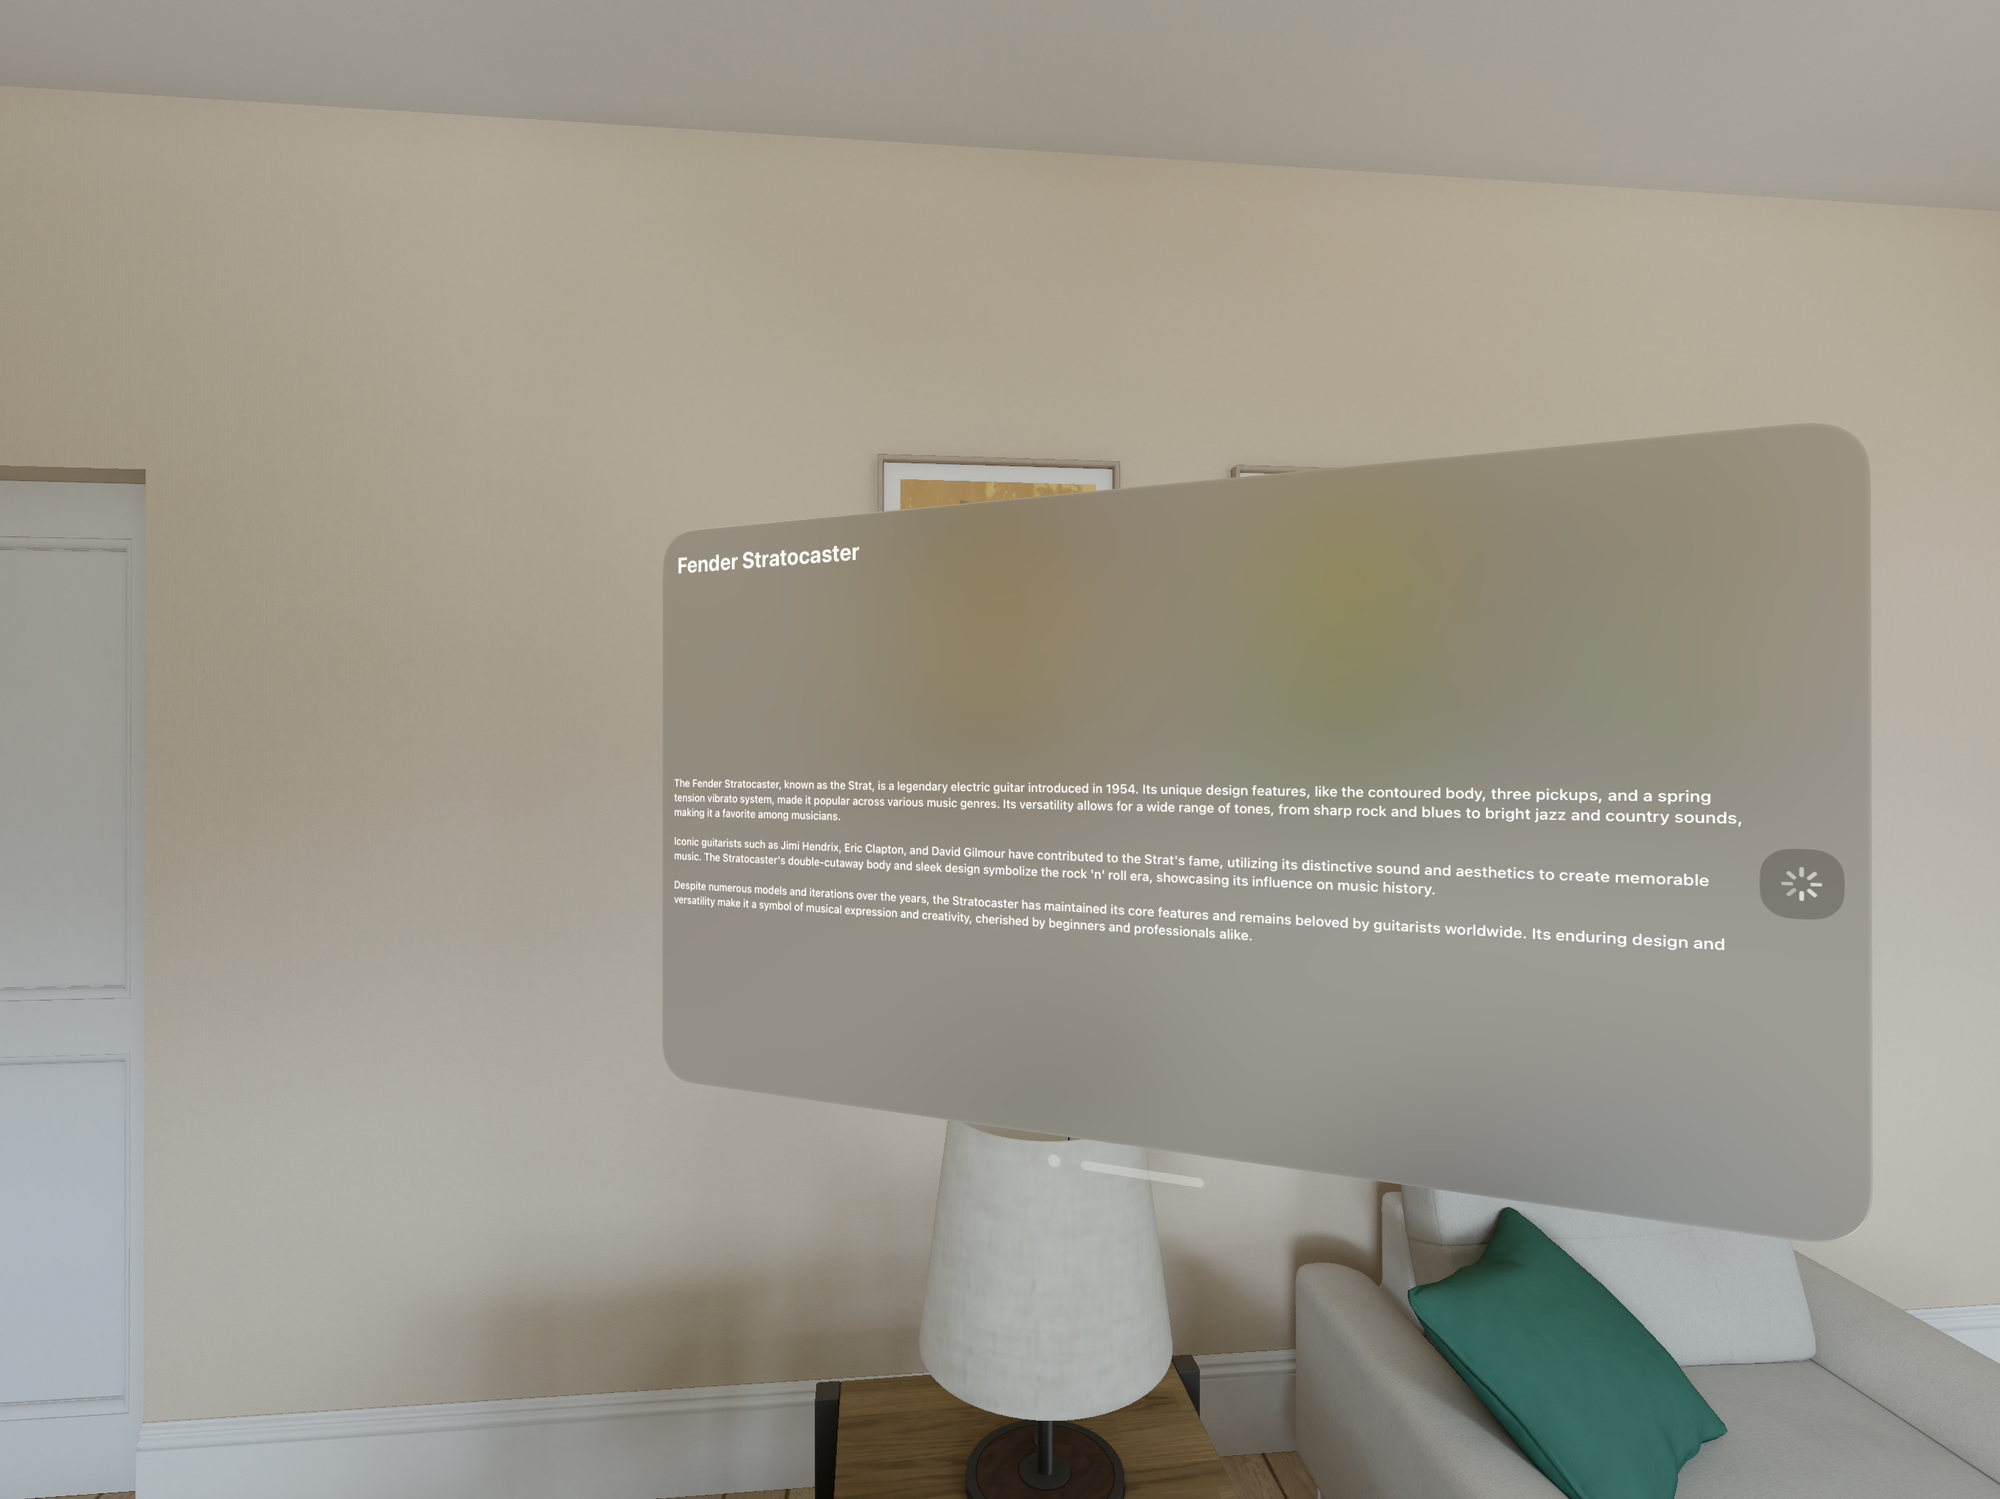
The placeholder is a closure where you can provide your custom placeholder view. This view is displayed until the 3D model is loaded. It is a great way to provide some context or feedback to the user while the model is loading.
The content closure takes a ResolvedModel3D as an input and returns the view.
ResolvedModel3Dis a view that you do not instantiate directly. It is created for you when you use theModel3Dview to display a 3D model.
This closure is executed once the 3D model is successfully loaded. You can return the model directly or modify it as needed before returning it.
Here is the code I used to display the Fender Stratocaster model:
import RealityKit

Model3D(named: "fender_stratocaster") { model in
  model
    .resizable()
    .scaledToFit()
} placeholder: {
  ProgressView()
}
.padding()
.background(in: .rect(cornerRadius: 24))
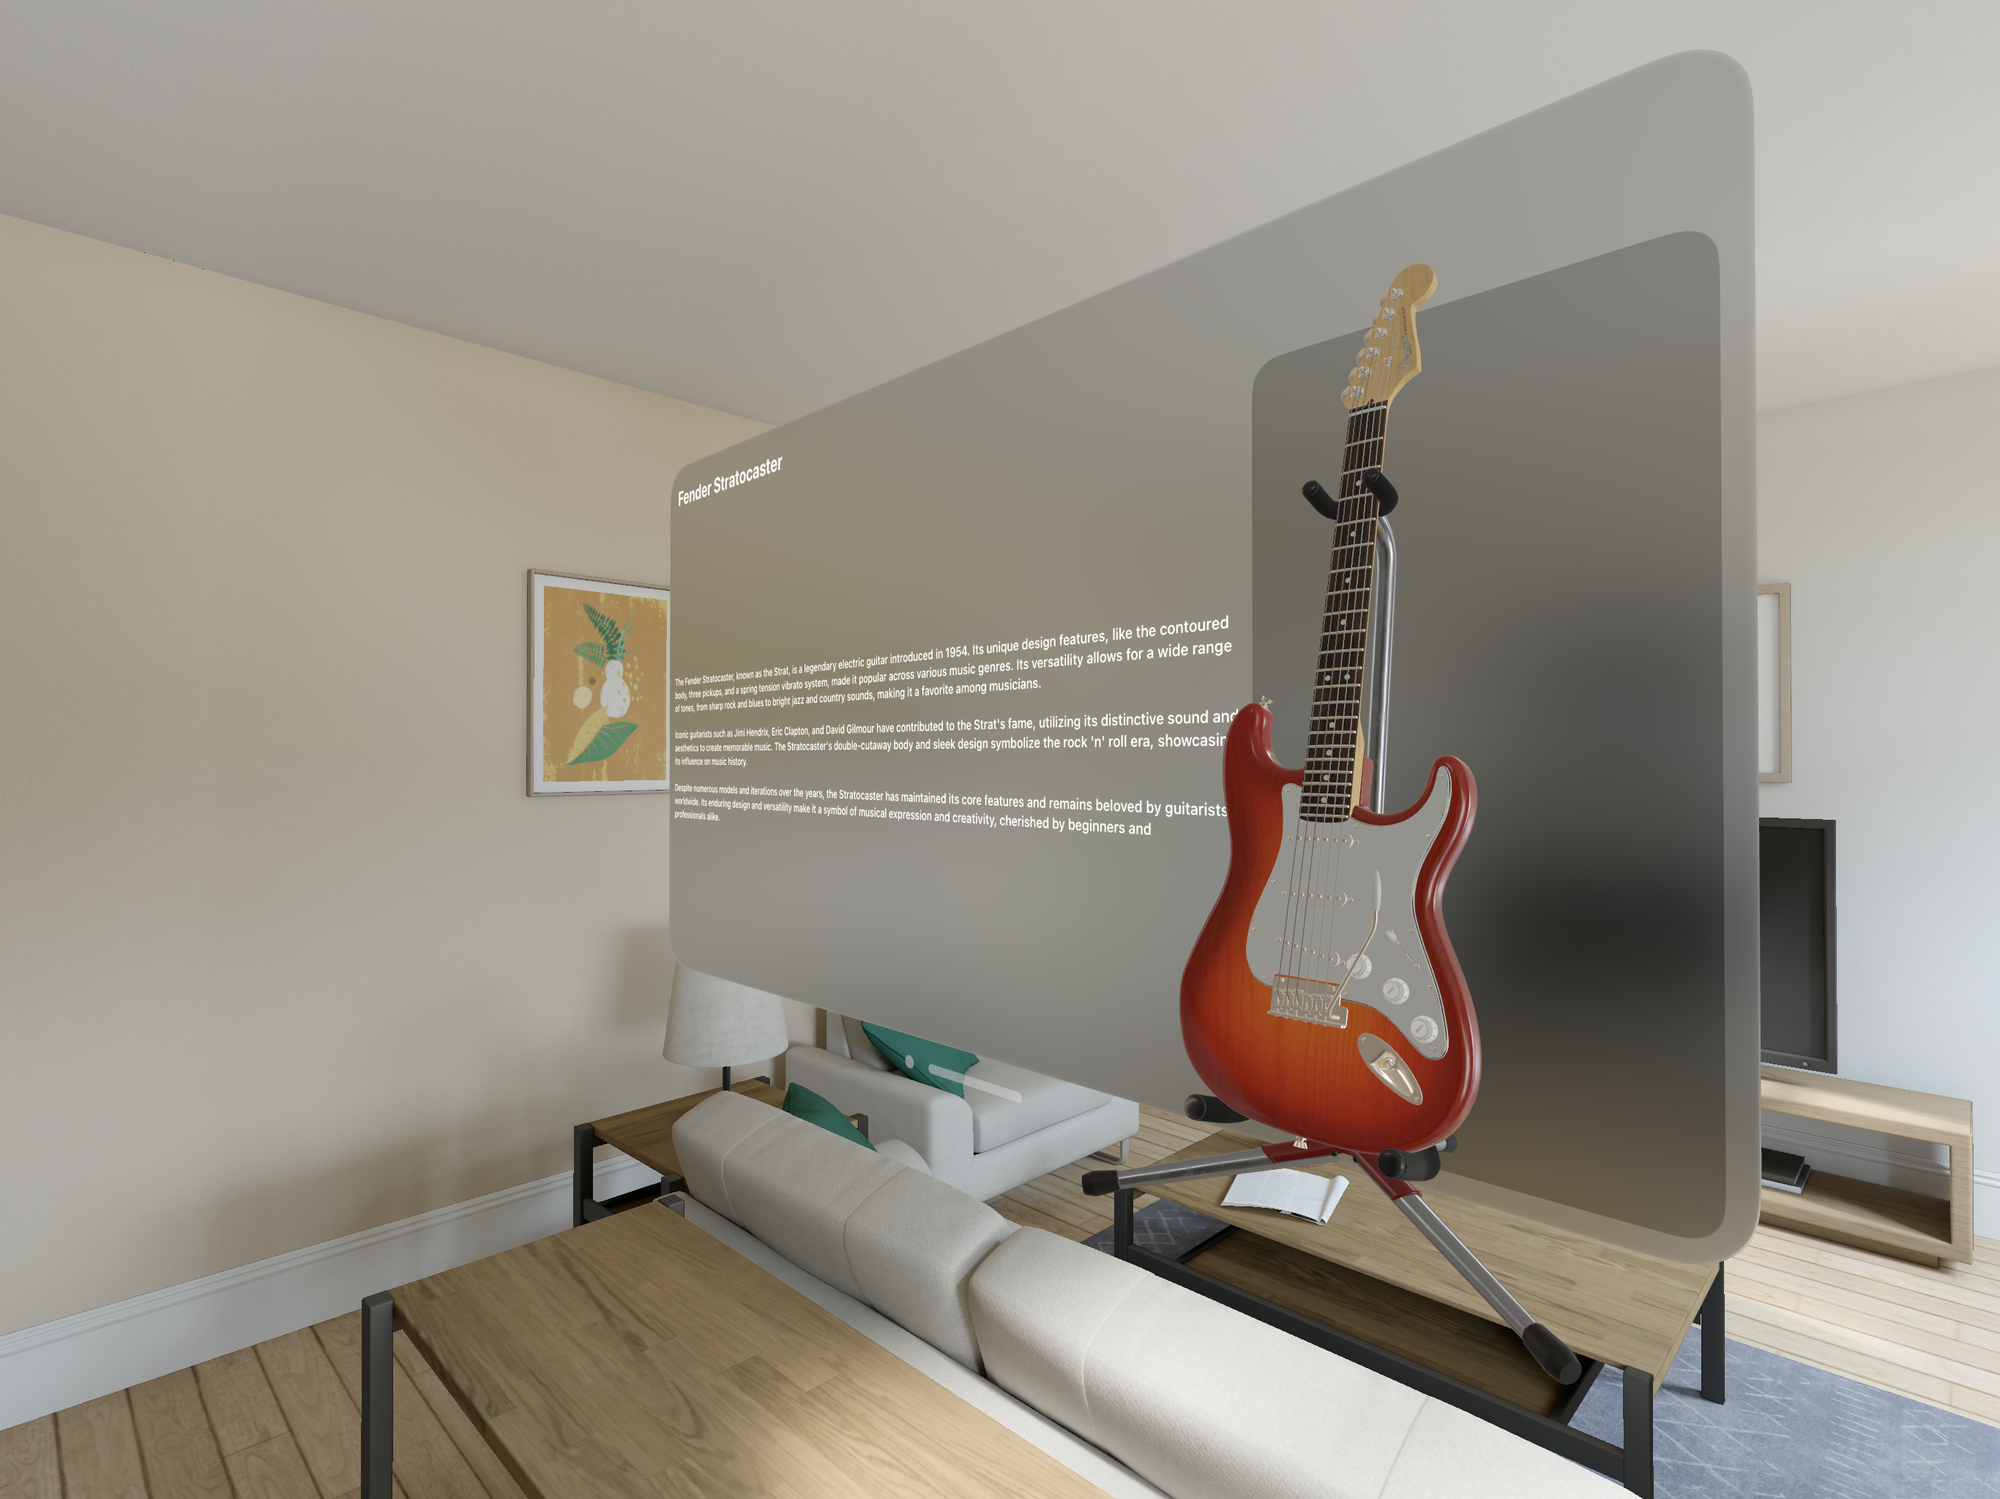
This code creates a Model3D view and loads the Fender Stratocaster model. The resizable() and scaledToFit() modifiers ensure the model is displayed at the correct size and aspect ratio. I also added some padding and a background rectangle to make the view look a little nicer.
If the name of the model is incorrect, the view will be stuck on loading. So make sure that the name of your model is correct.
Fetching 3D Model Remotely from URL
You can use the other initialiser to load a 3D model remotely. It takes in a URL object that specifies the location of the 3D model file.
init<Model, Placeholder>(url: URL, @ViewBuilder content: @escaping (ResolvedModel3D) -> Model, @ViewBuilder placeholder: @escaping () -> Placeholder) where Content == Model3DPlaceholderContent<Model, Placeholder>, Model : View, Placeholder : ViewLike the previous method, this one also takes two closures as arguments: content and placeholder. Here's the code loading the same guitar via its URL:
Model3D(url: URL(string: "https://developer.apple.com/augmented-reality/quick-look/models/stratocaster/fender_stratocaster.usdz")!) { model in
  model
    .resizable()
    .scaledToFit()
} placeholder: {
  ProgressView()
}
.padding()
.background(in: .rect(cornerRadius: 24))
More Customization Using Model3DPhase
To have more control over the error and placeholder views, you can use the initializer that returns the Model3DPhase enumeration:
@available(visionOS 1.0, *)
@available(iOS, unavailable)
@available(macOS, unavailable)
enum Model3DPhase {
  case empty
  case success(ResolvedModel3D)
  case failure(Error)
}
The Model3D initializer takes in a URL object and a Transaction object, which is used to manage the transactional behavior of the model loading process. The @ViewBuilder attribute allows the content closure to be used to build a SwiftUI view.
init(named name: String, bundle: Bundle? = nil, transaction: Transaction = Transaction(), @ViewBuilder content: @escaping (Model3DPhase) -> Content)
The Model3DPhase enum is used to represent the different states that the model loading process can be in. The empty case represents the initial state, where no model is loaded. The success case represents the state where a model has been successfully loaded, and the failure case represents the state where an error occurred during the model loading process.
Here is an example, modifying the existing code:
Model3D(url: url, transaction: .init(animation: .easeInOut), content: { phase in
  switch phase {
    case .empty:
      ProgressView()
    case .success(let resolvedModel3D):
      resolvedModel3D
        .resizable()
        .scaledToFit()
    case .failure(let error):
      Text("Failed to load: \(error.localizedDescription)")
        .foregroundStyle(.red.secondary)
    @unknown default:
      Text("Unknown error.")
        .foregroundStyle(.red.secondary)
  }
})
.padding()
.background(in: .rect(cornerRadius: 24))
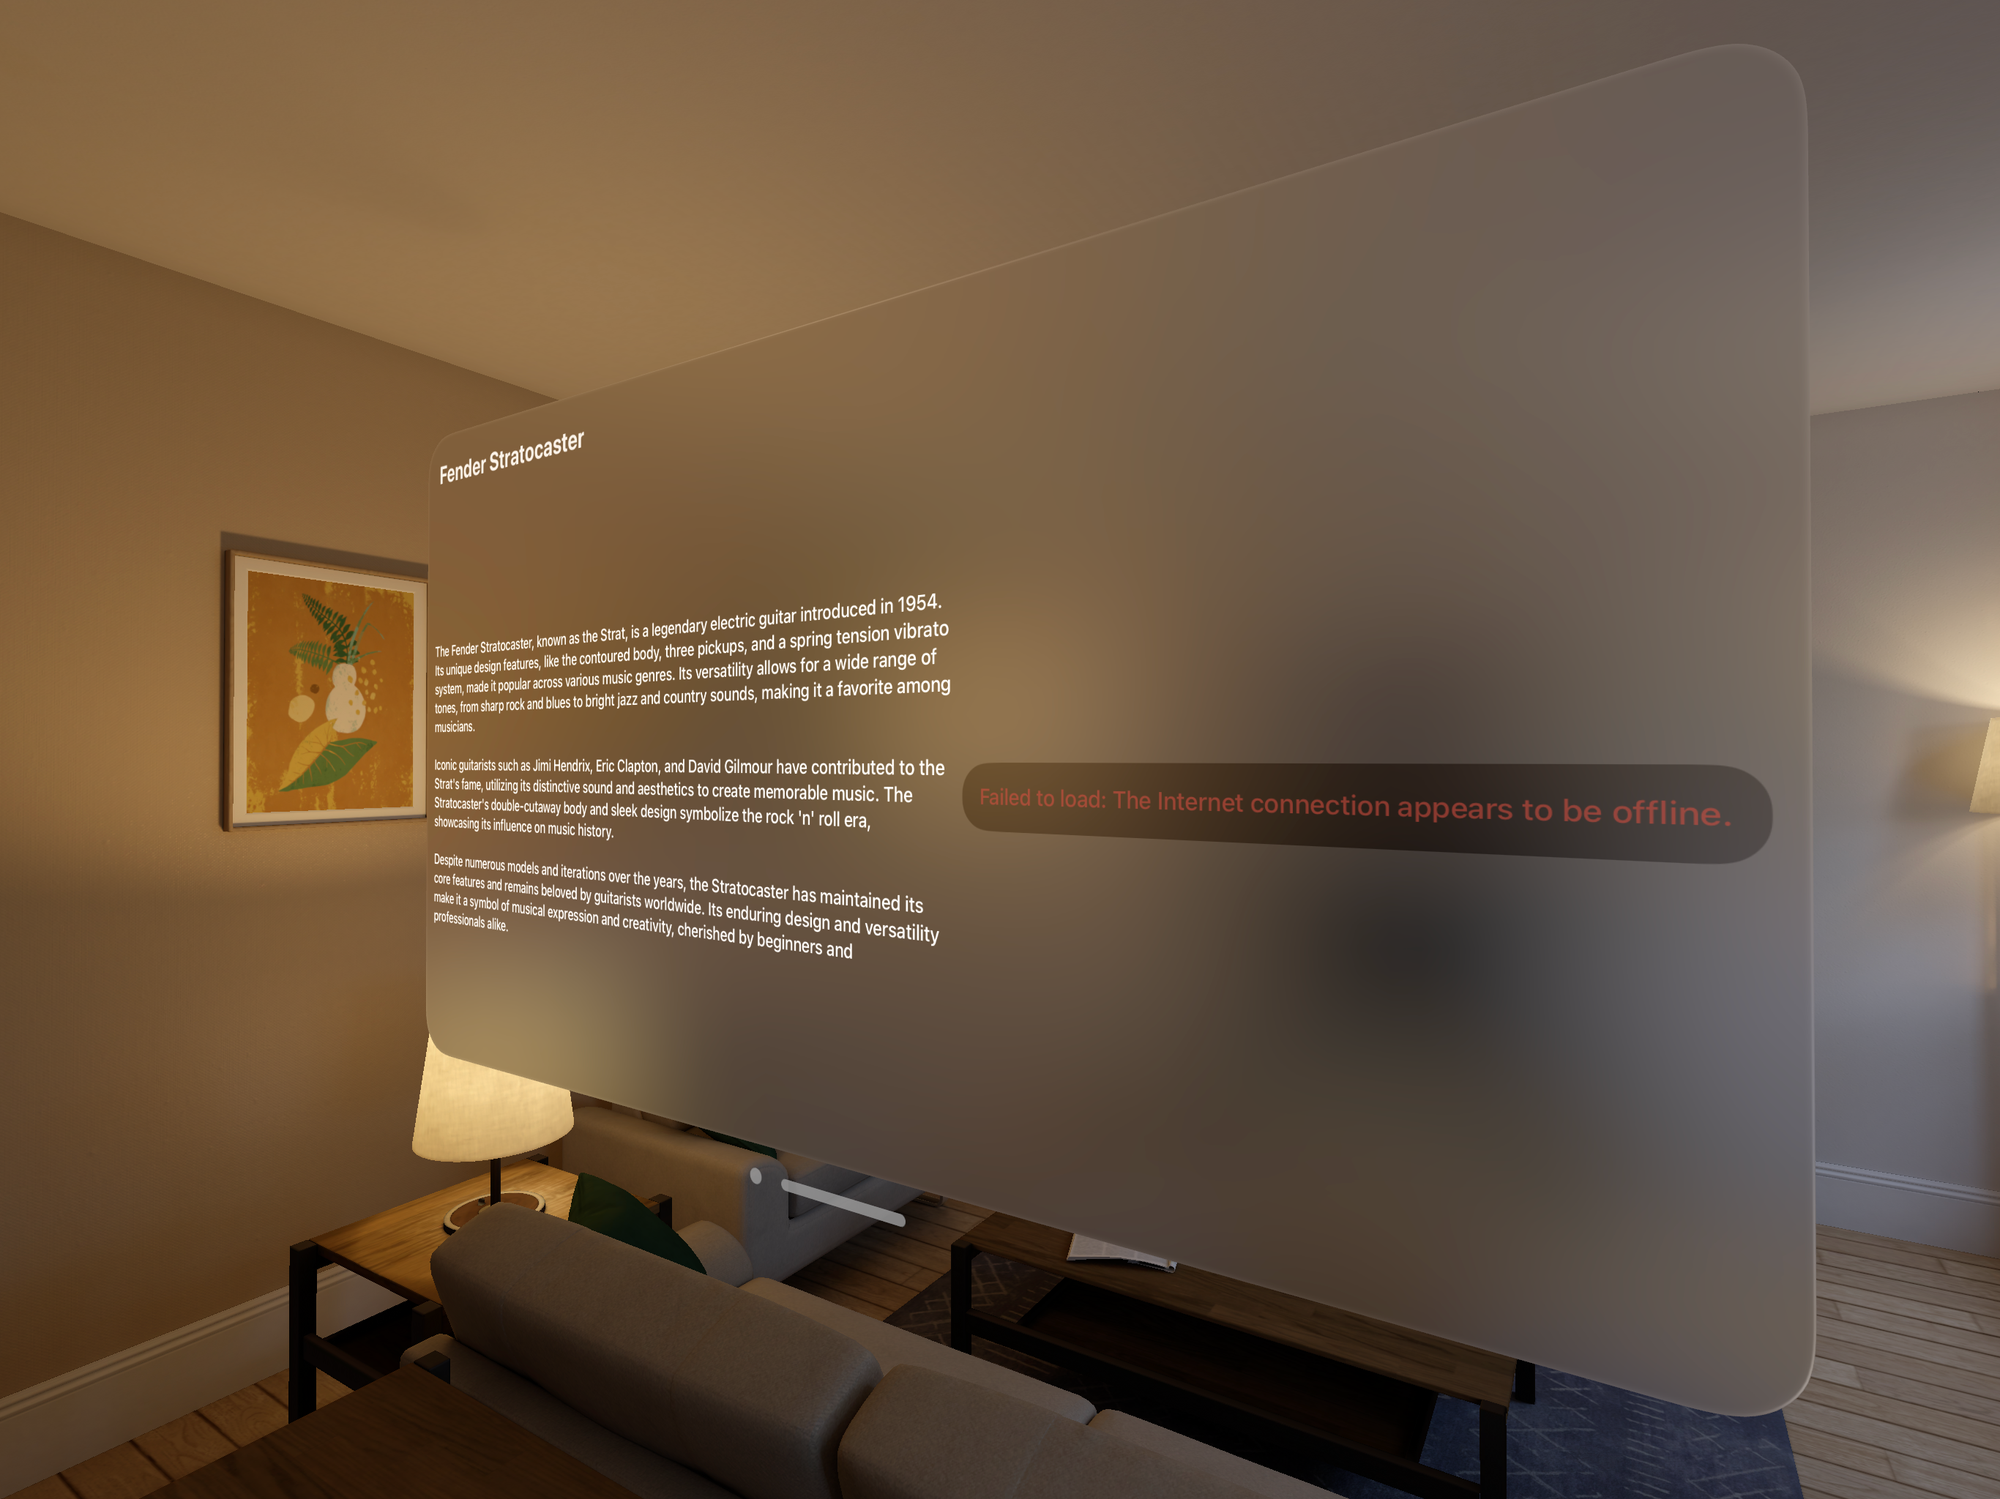
Inside the content closure, a switch statement handles the different cases of the Model3DPhase object. If the phase is .empty, a ProgressView is returned. If the phase is .success, the loaded model is returned, with the resizable() and scaledToFit() modifiers applied. If the phase is .failure, a Text view is returned with an error message. The @unknown default case is used to handle any future cases that may be added to the Model3DPhase enum.
Conclusion
And that's it! With just a few lines of code, you can display a 3D model in your visionOS app. I am just starting out with volumes and spaces, so I am really excited about the possibilities of working with visionOS and I cannot wait to see what other cool things I can do with it!

Master AI-assisted iOS Development
Learn how to use Alex Sidebar, Cursor, Windsurf, VS Code, and other AI tools for your Swift and SwiftUI workflow.