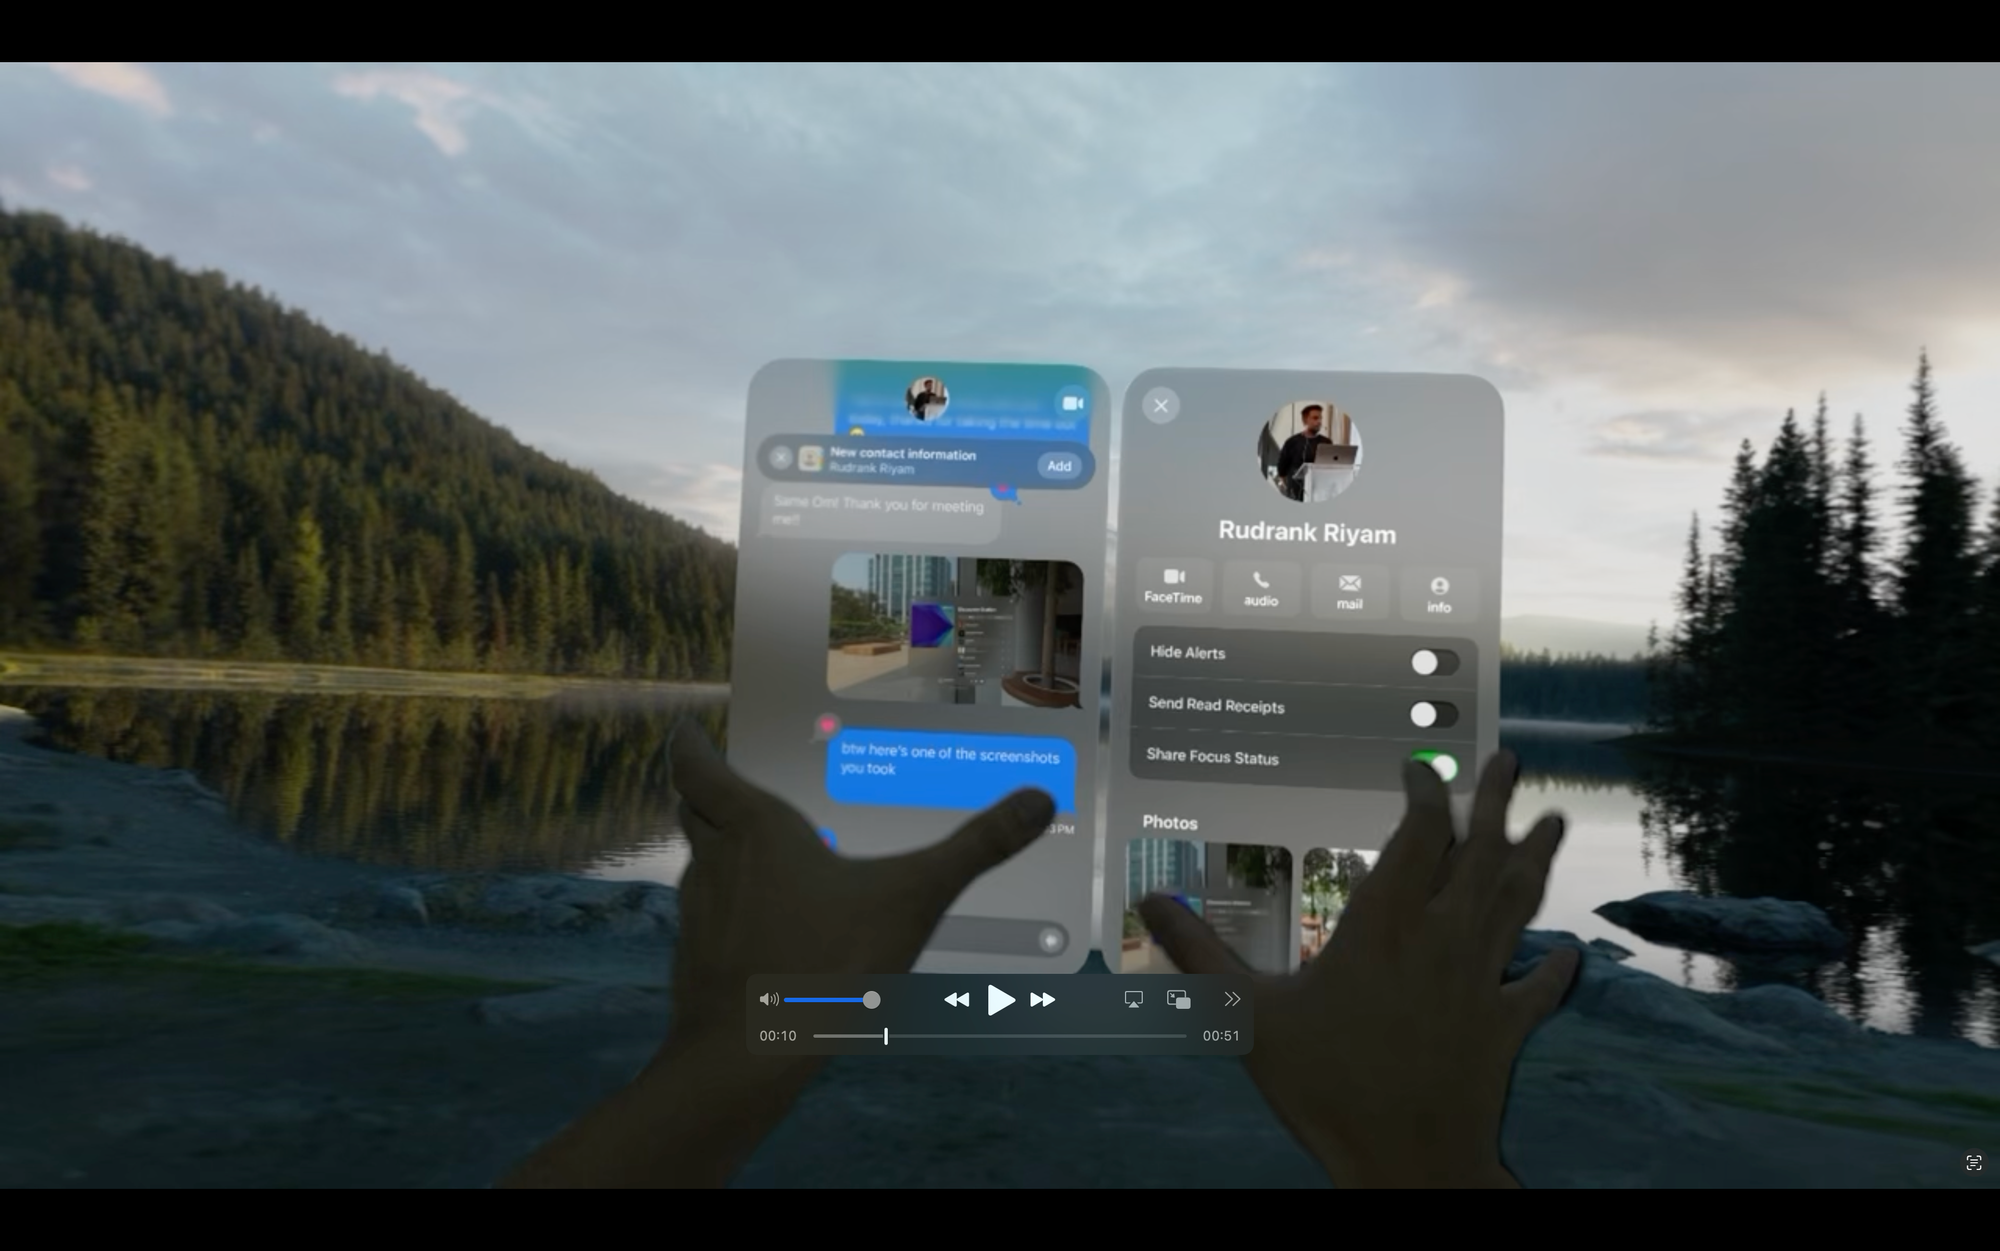
My friend Om showed me this interesting animation and transition in the iMessage app. It creates multiple windows in a single window, and opening and removing the side window feels like it opens and closes behind the main one.

I loved the seamless transition between them with animations. So, in this post, I explore how to create a main window with a conditionally shown side window and add a smooth animation when toggling the side window's visibility.
Setting Up the Main Window and Side Window
I put the code in the WindowGroup following this example from the Stackoverflow answer by beyowulf. I start with an HStack containing two VStack: one for the main window content and one for the side window.
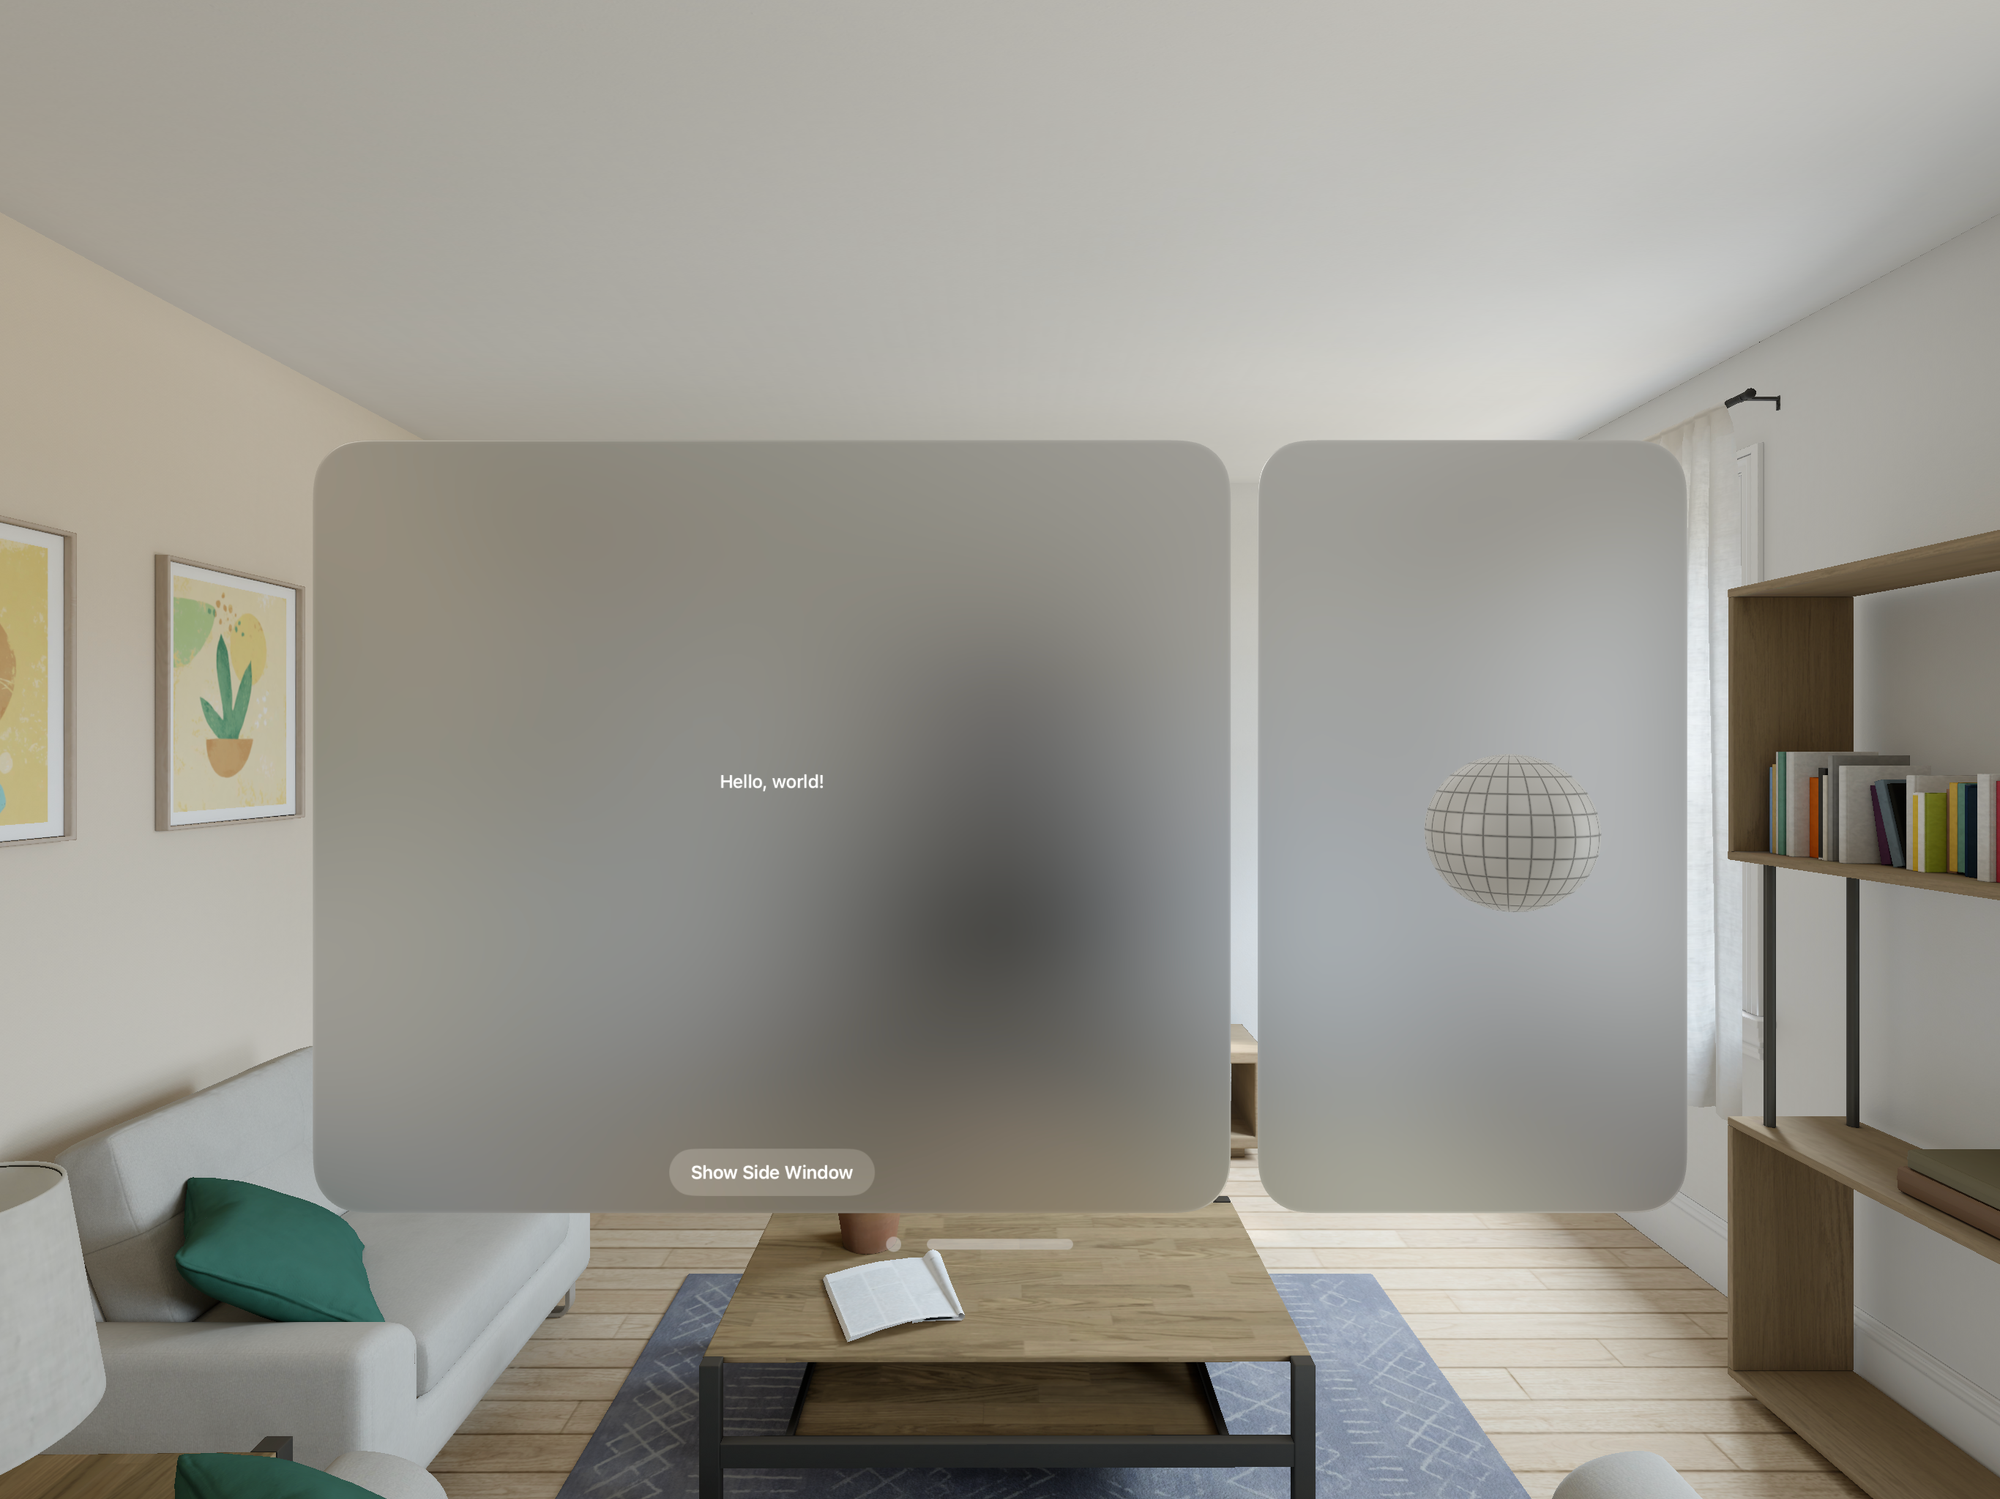
For the main window, I add a simple "Hello, world!" text view and a button to toggle the visibility of the side window. The side window will contain a 3D model loaded using RealityKit.
@State private var showSideWindow = false

HStack {
  VStack {
    Text("Hello, world!")
      .frame(maxWidth: .infinity, maxHeight: .infinity)
    Button(action: {
      showSideWindow.toggle()
    }, label: {
      Text("Show Side Window")
    })
    .padding()
  }

  if showSideWindow {
    VStack {
      Model3D(named: "Scene", bundle: realityKitContentBundle)
        .frame(maxWidth: .infinity, maxHeight: .infinity)
    }
    .frame(width: 400)
  }
}
The showSideWindow state variable controls whether the side window VStack is included in the view hierarchy.
Adding Glass Background Effect
By default, the window has a glass background. However, for this multi-window layout, we want more control over how the glass effect is applied. We set the window style to plain by applying the .windowStyle(.plain) modifier to the WindowGroup:
WindowGroup {
  ...
}
.windowStyle(.plain)
We then apply the glass background effect to both the main window and side window using the .glassBackgroundEffect() modifier. This makes them look like two distinct windows even though they are actually contained within a single window:
VStack {
  ...
}
.glassBackgroundEffect()

if showSideWindow {
  VStack {
    ...
  }
  .glassBackgroundEffect()
}
Adding Transition and Animation
To smoothen the transition, we use transition and animation modifiers when the side window is shown or hidden.
For the transition, we use the .transition(.opacity) modifier on the side window. You can play around with different styles, but I like .opacity the best. This will cause the side window to fade in and out smoothly:
if showSideWindow {
  VStack {
    ...
  }
  .transition(.opacity)
}
To trigger the animation when showSideWindow changes, we add the .animation() modifier to the outer HStack:
HStack {
  ...
}
.animation(.default, value: showSideWindow)
When you tap the "Show Side Window" button, the side window will elegantly fade in and out!
Using for Now Playing Queue View
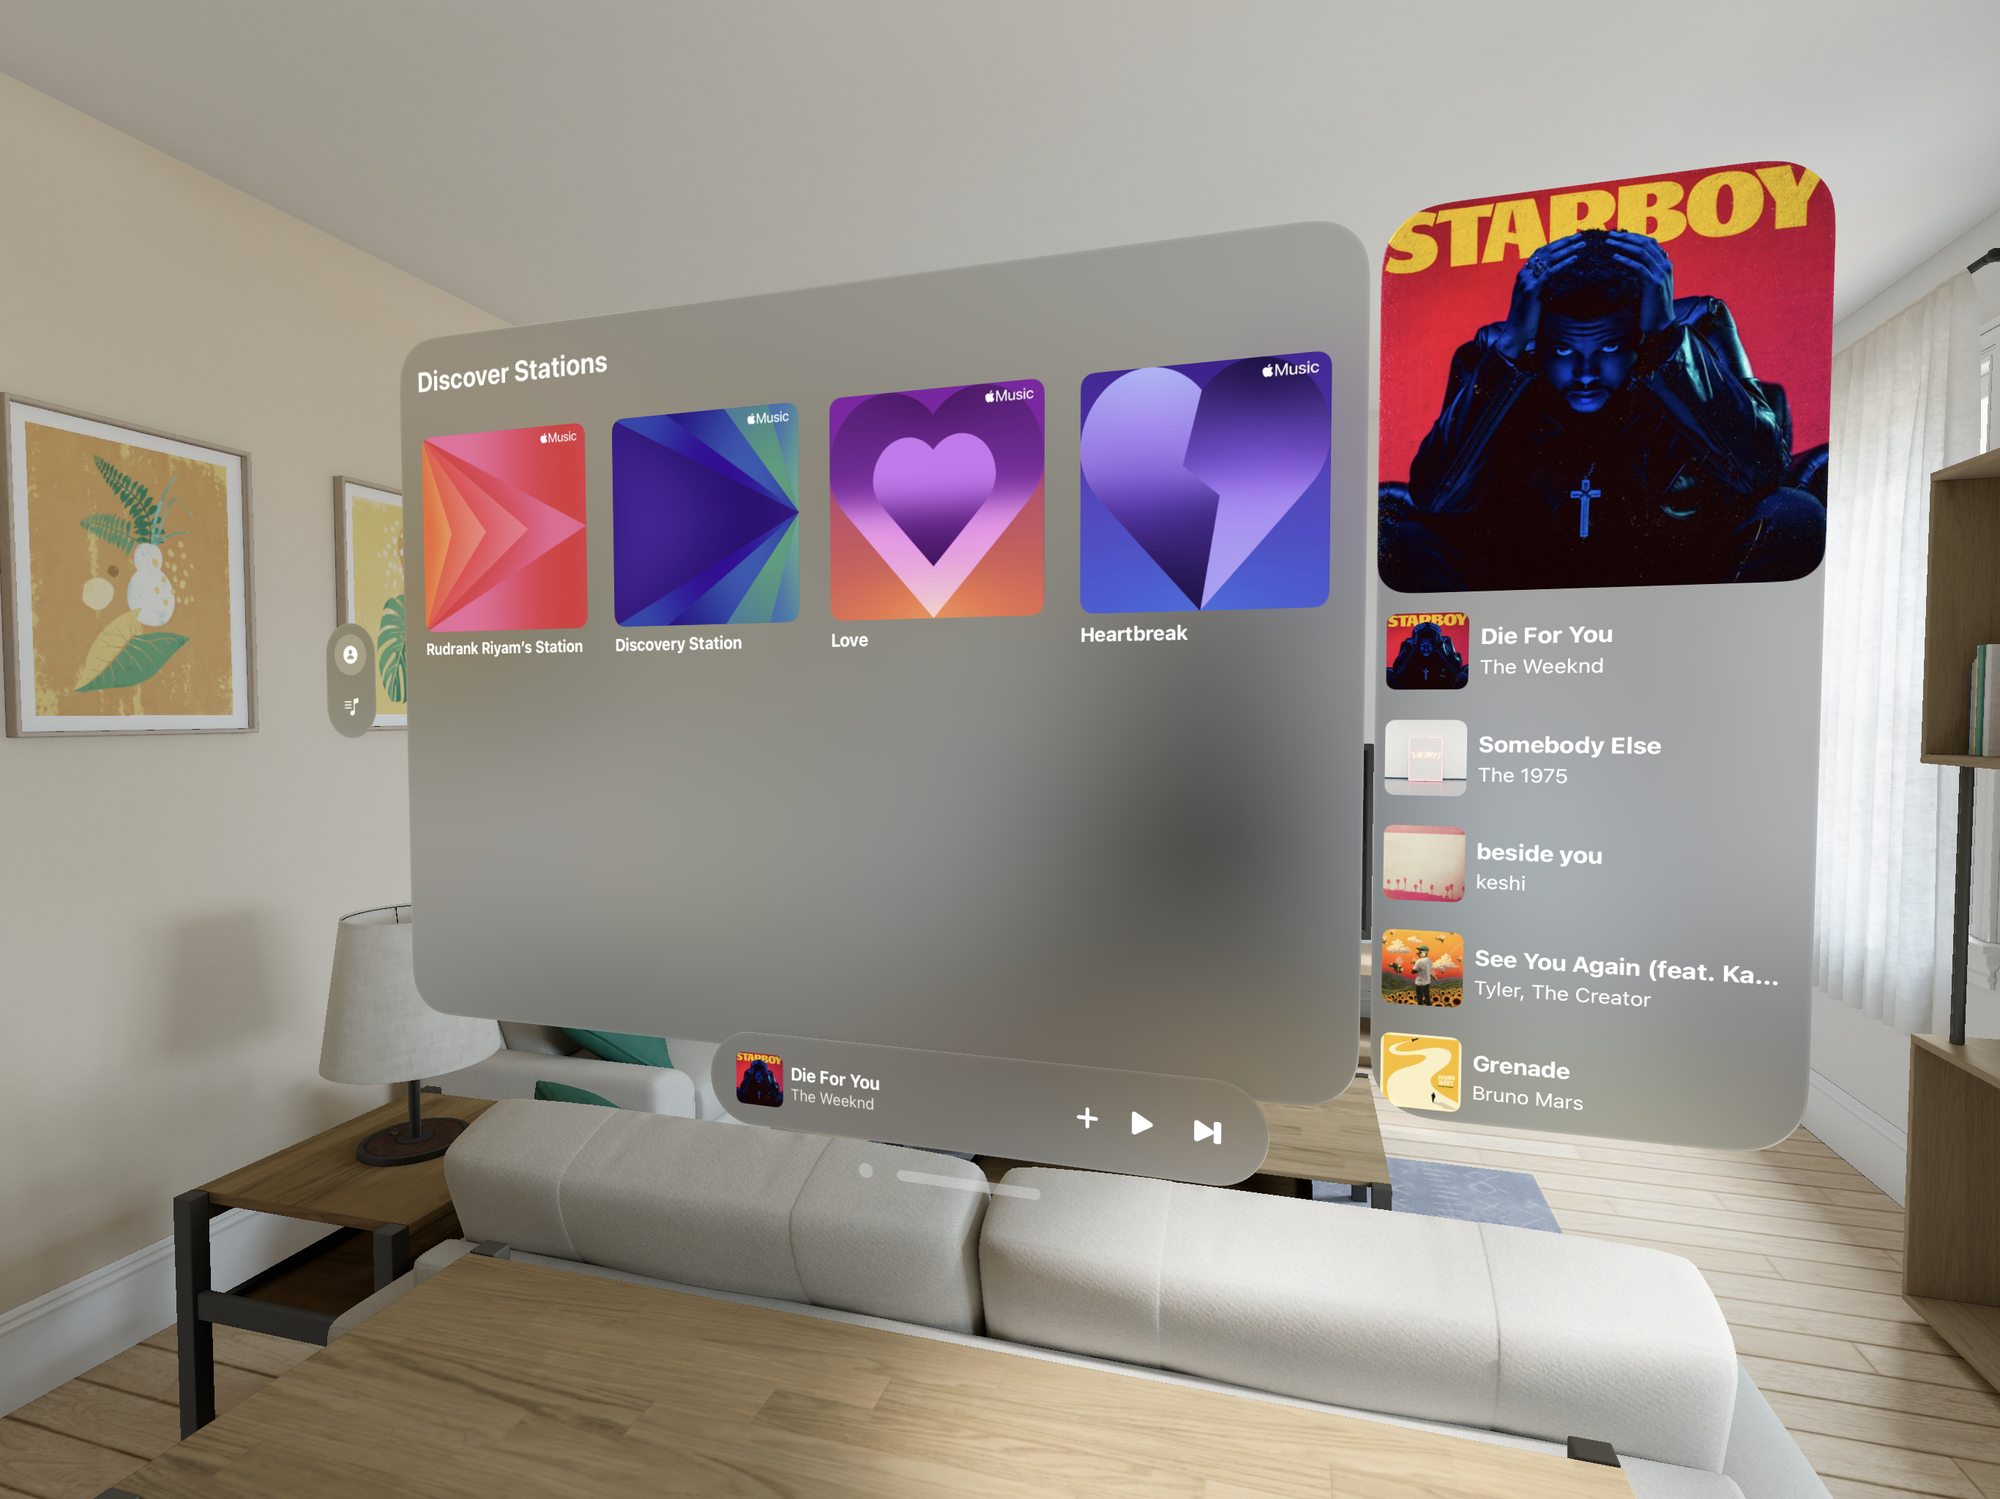
I am currently working on a music app called Music Discovery with Fusion, which you can check out on the App Store. I decided to implement the now-playing queue view as a side window to provide a more visually appealing user experience.
Here is how I integrated the side window for the now-playing queue view:
@main
struct FusionVisionApp: App {
  @StateObject private var nowPlayingViewModel = NowPlayingViewModel()

  var body: some Scene {
    WindowGroup {
      HStack {
        FusionVisionTabView()
          .glassBackgroundEffect()
          .environmentObject(nowPlayingViewModel)

        if nowPlayingViewModel.showMusicPlayer {
          NowPlayingQueueView()
            .transition(.opacity)
            .frame(width: 300)
            .glassBackgroundEffect()
        }
      }
      .animation(.default, value: nowPlayingViewModel.showMusicPlayer)
    }
    .windowStyle(.plain)
  }
}
In this code:
- Inside the
WindowGroup, I added anHStackcontaining the mainFusionVisionTabViewand theNowPlayingQueueView. - The
NowPlayingQueueViewis conditionally shown based on theshowMusicPlayerproperty of theNowPlayingViewModel. - I applied the
.transition(.opacity)modifier to theNowPlayingQueueViewfor a smooth fade in and out effect when toggling its visibility. - The
NowPlayingQueueViewis given a fixed width of 300 points and has the glass background effect applied using.glassBackgroundEffect(). - The
.animation()modifier is added to theHStackto trigger the animation when theshowMusicPlayerproperty changes. - Finally, the window style is set to plain using
.windowStyle(.plain)to have the separation over the glass effect.
The now playing queue view appears as a side window that smoothly transitions in and out when toggled!

Conclusion
While my implementation of creating a main window with a conditionally shown side window and adding animations is far from the complexity and polish of the iMessage app, it serves as a good starting point.
If you have any alternative approaches to creating side windows and animations in visionOS, I would love to hear from you. Feel free to reach out to me on X (formerly Twitter) at @rudrankriyam.
Happy coding spatially!
