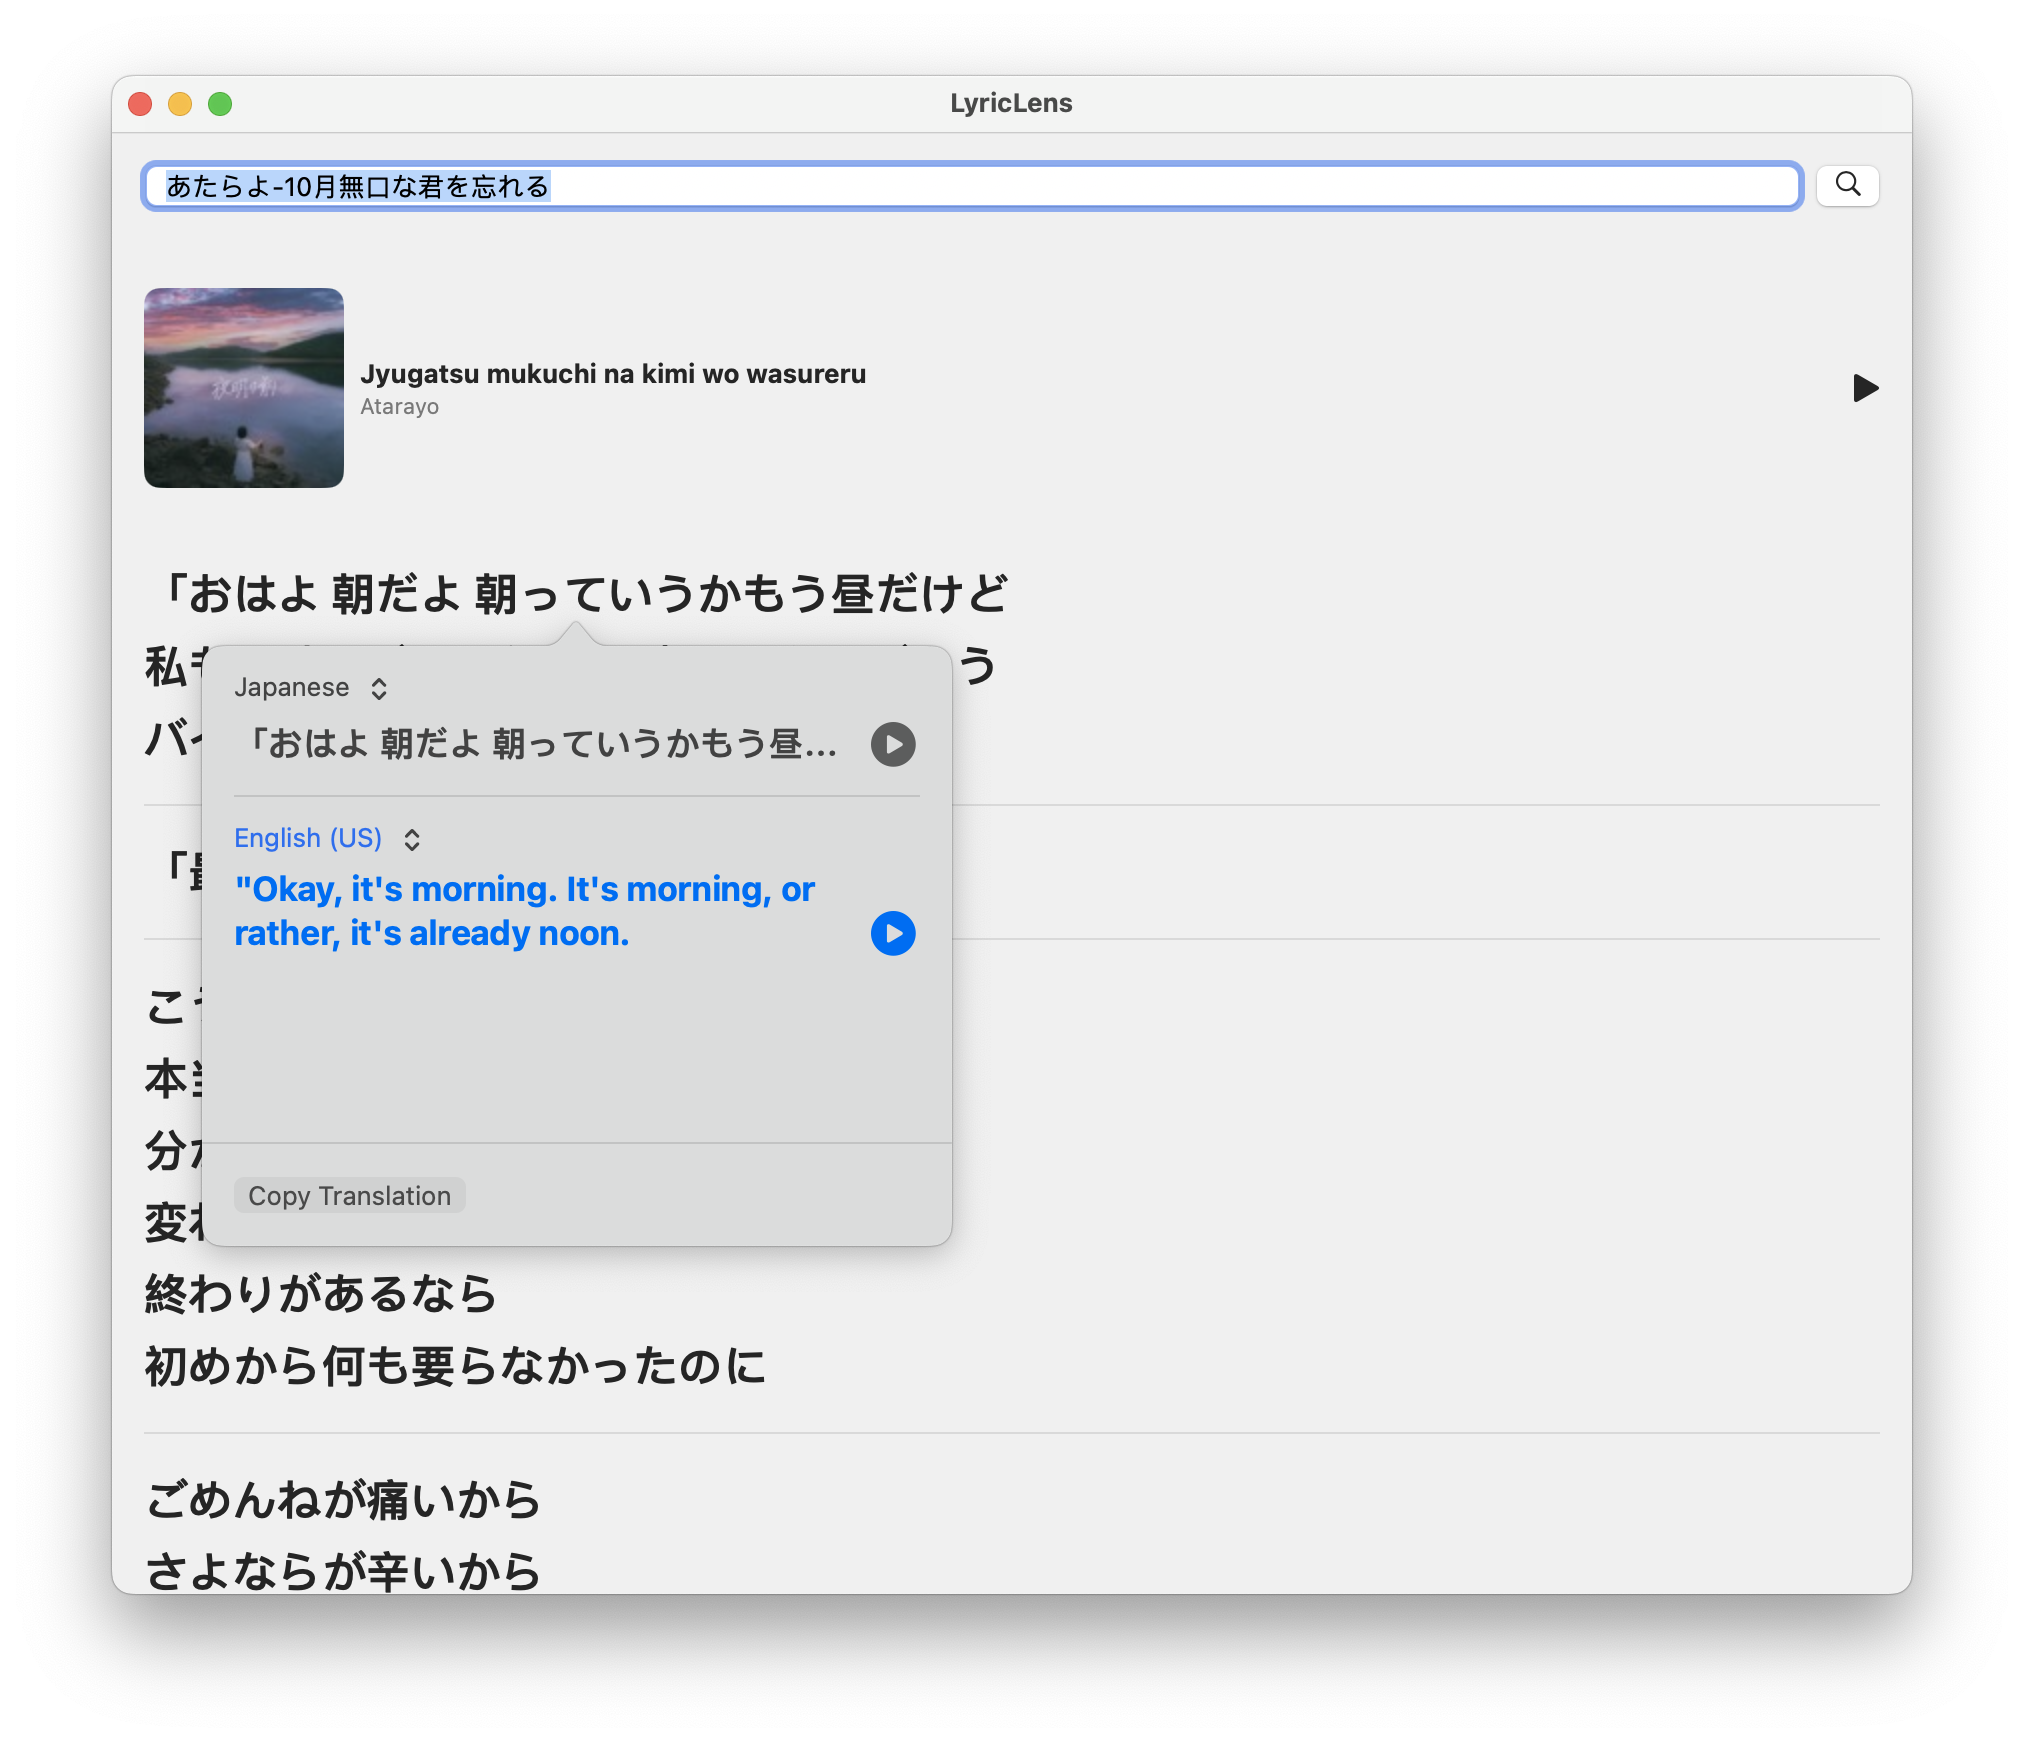
When I first released LyricLens, I limited it to macOS 15.0+ due to the new Translation APIs requiring the latest macOS version. My primary machine was still running macOS 14.5, so I could not even use my handy app! I decided to explore workarounds and stumbled upon the old translationPresentationmodifier.

The translationPresentation modifier allows to present a translation popover when a certain condition is met. Let us explore how we can use this to add translation capabilities to our apps.
Introducing translationPresentation
The translationPresentation modifier supports macOS 14.4+, iOS 17.4+, and iPadOS 17.4+. Here is the function signature:
@available(iOS 17.4, macOS 14.4, *)
@available(macCatalyst, unavailable)
@available(tvOS, unavailable)
@available(watchOS, unavailable)
@available(visionOS, unavailable)
extension View {
  @MainActor @preconcurrency public func
  translationPresentation(isPresented: Binding<Bool>,
  text: String,
  attachmentAnchor: PopoverAttachmentAnchor = .rect(.bounds),
  arrowEdge: Edge = .top,
  replacementAction: ((String) -> Void)? = nil) -> some View
  }
Using translationPresentation
To use this modifier, I attach it to the view containing the text I want to translate. Here is a simple example:
struct ContentView: View {
  @State private var isTranslationPopoverShown = false
  private var originalText = "नमस्ते" // Namaste 🙏🏾, Greeting in Hindi

  var body: some View {
    VStack(spacing: 20) {
      Text(verbatim: originalText)
        .font(.largeTitle)
        .padding()
        .translationPresentation(
          isPresented: $isTranslationPopoverShown, text: originalText)

      Button("Show Translation") {
        isTranslationPopoverShown.toggle()
      }
      .buttonStyle(.borderedProminent)
    }
  }
}
In this example, the translation popover appears when the user toggles the isTranslationPopoverShown state variable by pressing the Translate button.
Implementing translationPresentation in LyricLens
Now, let us look at how I implemented this in LyricLens to provide translation for individual lines of lyrics. Here is a snippet from the LyricsContentView:
struct LyricsContentView: View {
  let paragraphs: [TranslatableParagraph]
  @State private var selectedLineId: UUID?

  var body: some View {
    ScrollView {
      ForEach(paragraphs) { paragraph in
        VStack(alignment: .leading, spacing: 10) {
          ForEach(paragraph.lines) { line in
            VStack(alignment: .leading, spacing: 5) {
              Button(action: {
                selectedLineId = line.id
              }) {
                Text(line.originalText)
              }
              .buttonStyle(.plain)
            }
            .translationPresentation(
              isPresented: Binding(
                get: { selectedLineId == line.id },
                set: { if !$0 { selectedLineId = nil } }
              ),
              text: line.originalText,
              arrowEdge: .bottom
            )
          }
        }
      }
    }
  }
}
The key part here is how I used translationPresentation for each line of lyrics. I created a binding for each line that checks whether it is the selected line. When a line is selected, the translation popover appears for that specific line.
Notice how I set the arrowEdge to .bottom. This makes the popover appear below the selected line, which feels more natural in the context of reading lyrics.
Conclusion
The translationPresentation modifier allowed us to add translation capabilities to our apps without requiring the very latest macOS version.
If you have any questions or want to discuss implementing translation features in your app, feel free to contact me at https://x.com/rudrankriyam!
Stay tuned for more posts exploring other aspects of the Translation API. Let's keep breaking down language barriers, one app at a time!
